 |
Usually
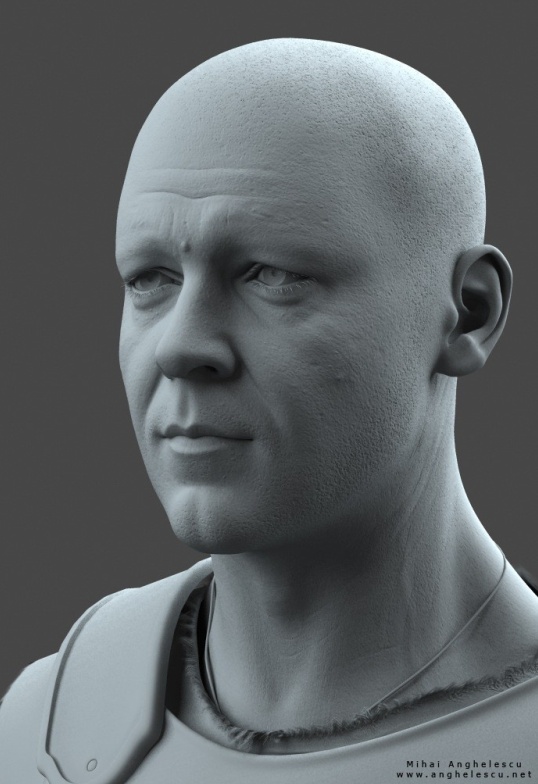
texturing the head is a slow process and it keeps until the final image
is rendered.
For this project I've used many references to get the proper
position for hairline, eyebrows (extremely important) and wrinkles.
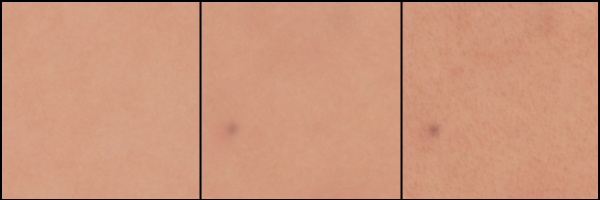
Almost
every personal work is a researching process and here I've
tried to
get some pore details to be visible on the skin . So I've done
lots of test to see how i can make some nice pores on the diffuse
texture but also on the bump map. These days I'm not using
anymore the bump map
created in photoshop with this method but I'm using the displacement
map from zbrush to
create the pore details in bump and diffuse.
Anyway .. here's how I've created the texture :
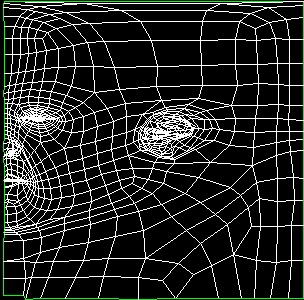
Usually
I'm creating the uv layout while the model is still simetrical , to
make
things a bit easier for me. Because the base head was symmetrical the
uv
will be the same. So I'll use just half of the head to create the uv .
For this I'm using an cylindrical uv and I'm correcting the
points that are overlapping and the uv starts to look like this :
after
that I'll mirror the other half of the uv and merge together in a
single piece.
|
At this point i can collapse the whole stack and the uv information is
stored in the base mesh.
After
tweaking the geometry by adding the proper asymmetry on the model face
i
can start painting the texture in photoshop.
(At
any stage from this point if i want to add more details in the geometry
i have to apply again the unwrap modifier and to correct the area where
details were added.)
First of all I'm painting some guidelines for eyebrows and forehead and
I'm
creating few noise layers with different level of blur (all with an
overlay transfer) and an layer base color for skin.Here you can see
some steps for the skin pore details :
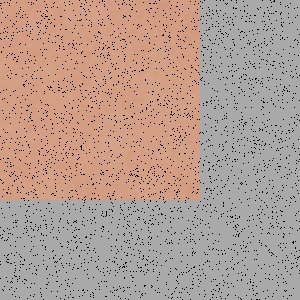
To
add pores details on this basic texture i fill an layer with black
color and after that I'm reducing opacity at 4 % .
This
layer should have an
dissolve
transfer and the image will looks like this :
After
that I'm creating a new empty layer and i merge both layers ( the one with
dissolve and the other empty one). In this way i have a new layer
with a normal transfer.
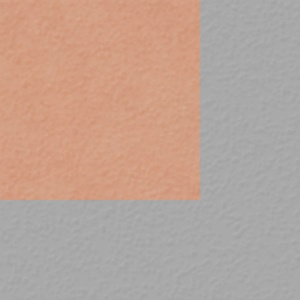
With
an emboss effect on this layer and overlay transfer i got exactly what
i wanted .. pore details :) and as you can see in the grey area of the
image, the same layer I've used to create the fine pore bump map.
With
some guides for eyebrows, hair line, beard and wrinkles painted on top
and with more color variation I've started to analyze again the
references and to properly arrange all details on the face.